- Blueprints
- Posts
- Blueprint #3: Building a Website Free Tool with AI
Blueprint #3: Building a Website Free Tool with AI
(Without knowing how to code)
Raman Khanna
May 08, 2025 • Estimated Reading Time: 5 minutes
A few months ago, I used Claude to build a prototype for a free AI-powered tool at Navattic.
As a marketer with zero coding background, getting an MVP live on my own felt like a small miracle.
It started as a weekend experiment. When the final version was launched live on our homepage it contributed to ~15–20% of our free signups that week.
Below I break down how it came together.
Problem to Solve
I want to create a free tool on my website but I don’t have the engineering resources to do it.
Difficulty Scale — 🟡 Medium difficulty
You won’t need to write code from scratch, but you will need to be doing some coding (with instructions from Claude). You will also eventually need to loop in an engineer.
Some background
I’ve seen free tools and sidecar products used as a growth strategy (things like Clay’s Employee Count finder or Clearbit’s TAM calculator).
But building one of those tools required engineering time and design help — not to mention buy-in from the team.
Like a lot of teams, I kept running into the same roadblock of engineering resources.
Our engineers (rightfully so) were focused on the core product. Shipping something like this never made it to the top of the list.
So I decided to see how far I could get on my own with the help of AI and some “vibe coding”.
The prototype actually worked well enough to prove the concept. Eventually, we brought in engineering to help polish and ship it.A quick ask of you
Step 0) Define the use case for the tool
Prospects and customers kept telling us the same thing: the hardest part of building a demo was figuring out the story to tell. Deciding what to show and how to show it took way more effort than expected.
That’s where the idea for the free tool was born.
The idea: a user pastes in their product landing page URL. We scrape the page and generate a 10-12 step demo storyboard based on our best practices (we’ve had 28k+ product demos built on our platform, so we had data behind what makes a demo good).
I basically wanted to use AI to create an AI tool (pretty meta 😊).
Step 1) Build a V1 with the help of Claude
On a Saturday afternoon, I started playing around with Claude.
I'm not an engineer and I’ve never really coded.
But Claude made it feel doable.
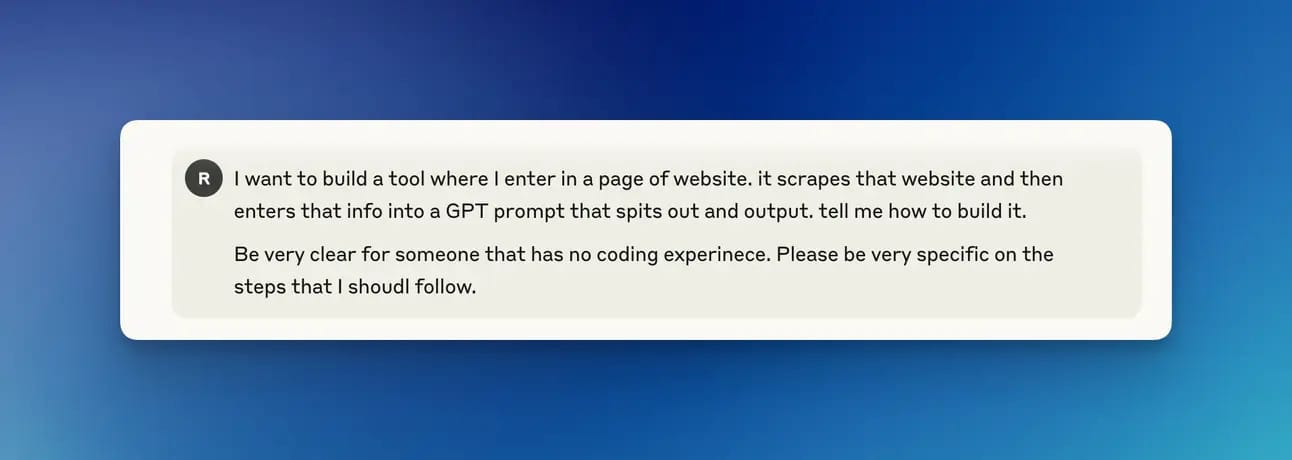
This was the real first (and very basic prompt) I started with. I’ve seen a lot of writing on the best way to prompt AI. But sometimes it also works to start simple.
Claude guided me through it step by step.
Honestly, it felt a lot like assembling furniture where you follow the instructions, hit a few frustrating bumps along the way, but if you stick with it, you end up with something pretty cool.
At a high-level, Claude had me do the following:
Created a file where the main code was
To do this, I created a file called “index.html” —> added code from Claude —> saved it
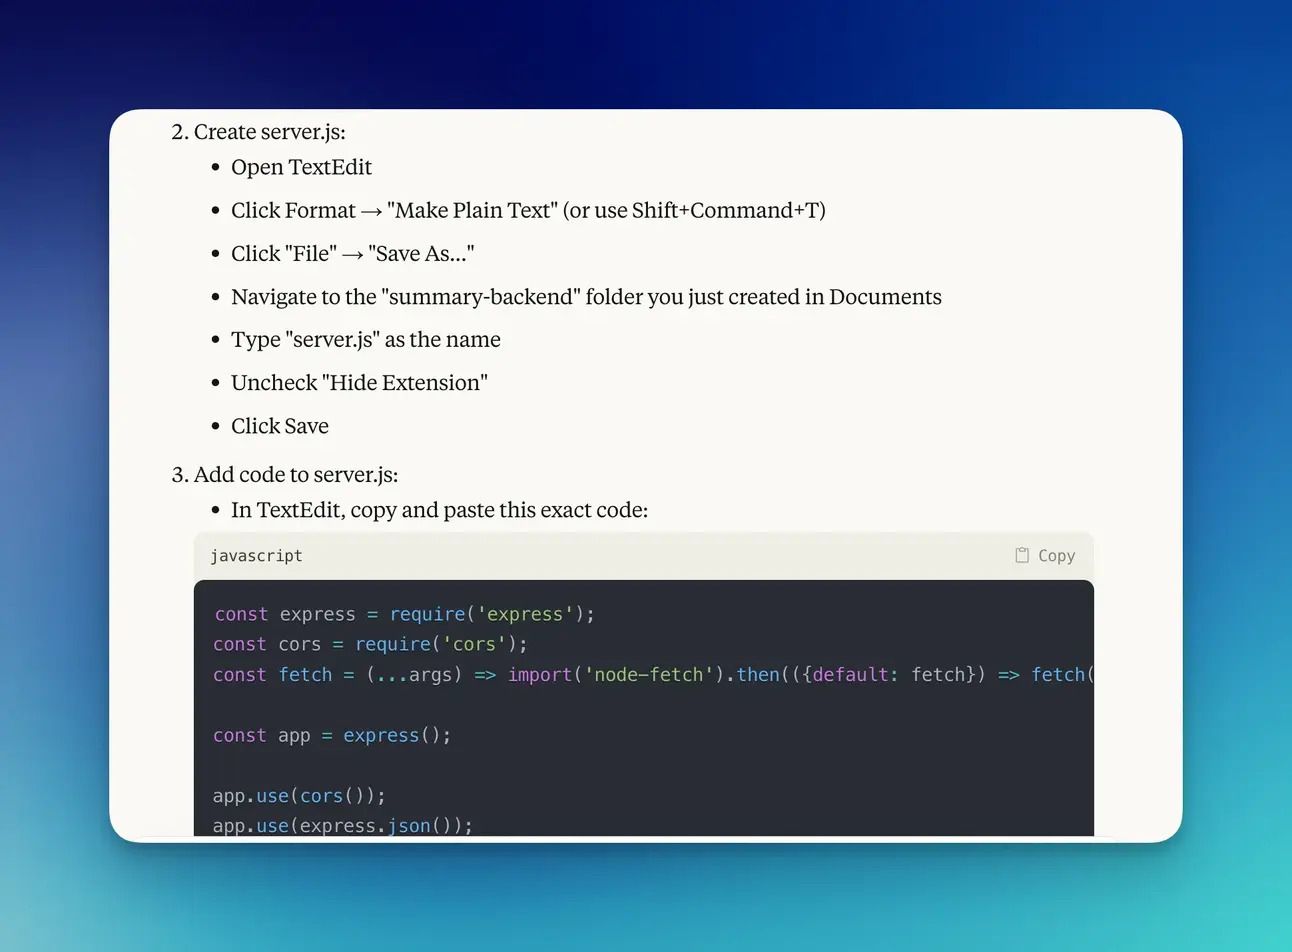
Creating a server to the page scraping and talk to the AI
To do this, I created a file called “server.js” —> added code from Claude —> saved it
Ran a version of it “locally” (on my computer)
To do this, I opened “Terminal” ( The way to talk directly to your computer and tell it what to do — aka the remote control of the computer.) —> insert a few lines of code —> got a local link that I could see the tool working on
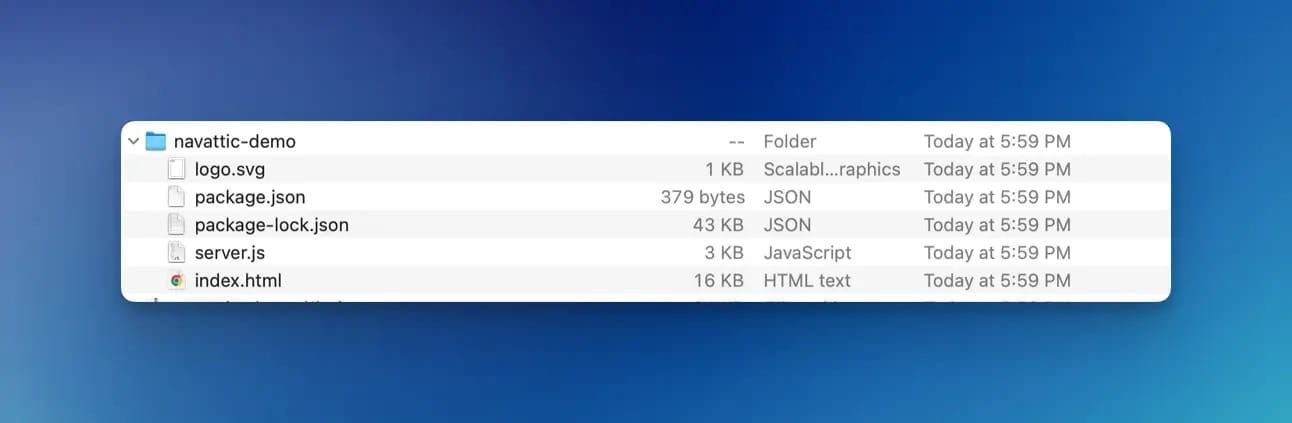
All of the files lived in this folder called navattic-demo.
Whenever I needed to do anything, I had Claude walk me through the steps.
There was a lot I didn’t know. I asked Claude to be specific and tell me what to do in bite-sized chunks.
Whenever I ran into issues, I would prompt Claude and we would debug together:
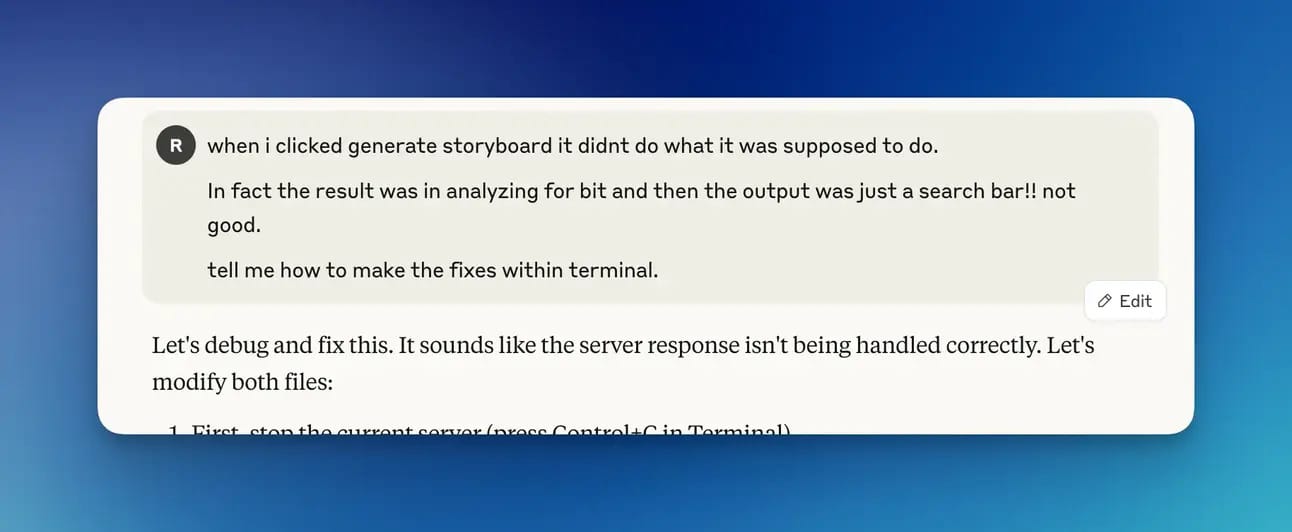
Eventually, I had a local prototype running. It was complete with a branded loading screen and an output that was pretty good.

This is what the version looked like after “vibe coding” it with help from Claude.
Learning #1
This wasn’t a one and done interaction. Throughout the build, I’d hit a wall ("Why isn’t this working?" or "How do I fix this bug?").
I’d ask Claude and we would de-bug together. It was like having a technical buddy on standby. Not always perfect, but good enough to get me unblocked.
Step 2) Spend time on refining the prompt
Because this was an AI powered tool, the real engine behind it was a prompt. That’s what told the model how to turn raw website copy into a demo storyboard.
This part took the most effort (but made the biggest difference).
The first version was simple, and the output felt like generic ChatGPT. We wanted to make it even better.
So, working with the rest of the marketing team, we started layering in everything we’d learned from analyzing demo data from 28k+ demos. Things like structure, patterns, step count, etc from the top 1% of high-converting demos.
It took 5+ hours of iteration. We rewrote the prompt again and again until it consistently gave us something we actually liked - something that felt like us, not just AI.
Step 3) Start to get buy-in internally
Once there was a working version, I sent a Loom walking through the tool to the product team.
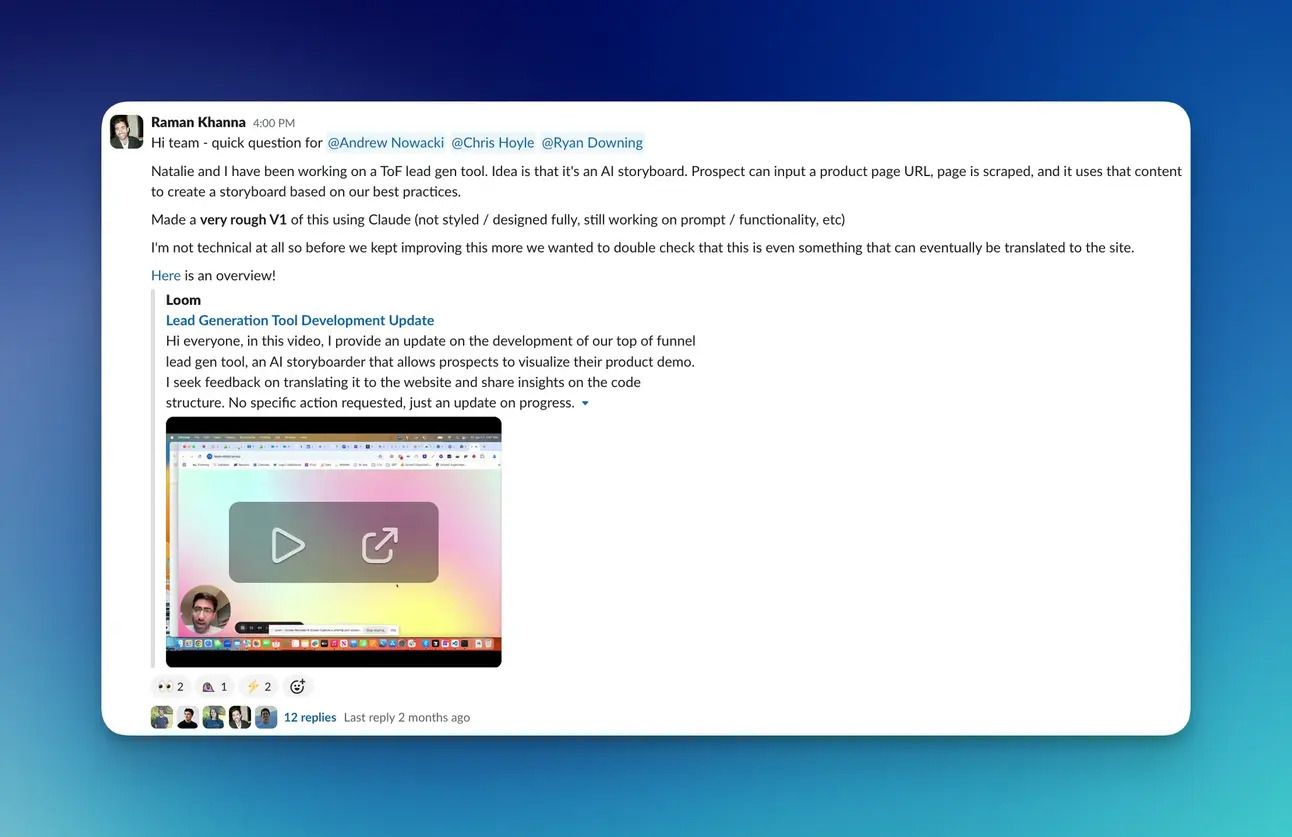
Things started to click when the team saw the prototype.
Seeing a live demo storyboard generated in under a minute made the value click.
It wasn’t a theoretical AI idea anymore. It was something tangible, branded, and tailored to our product experience.
That momentum led to leadership dedicating resources toward the project.
Learning #2
I used to stop at “wouldn’t it be cool if…” AI helped me push past that. I went from idea to working prototype in days, not weeks.
The final version still needed an engineer, but we were starting from something real. That shift in velocity made a big difference.
Step 4) Bring in a design engineer
That’s when we brought in Andrew (a freelance web designer contacting for our team) - and everything leveled up.
He brought polish and creative ideas that meaningfully improved the experience like:
Designed a clean, branded UI that made the tool feel like part of the website
Thoughtful transitions, spacing, and visual cues that made it feel more elevated
Updated the way the code was written to better fit into the codebase
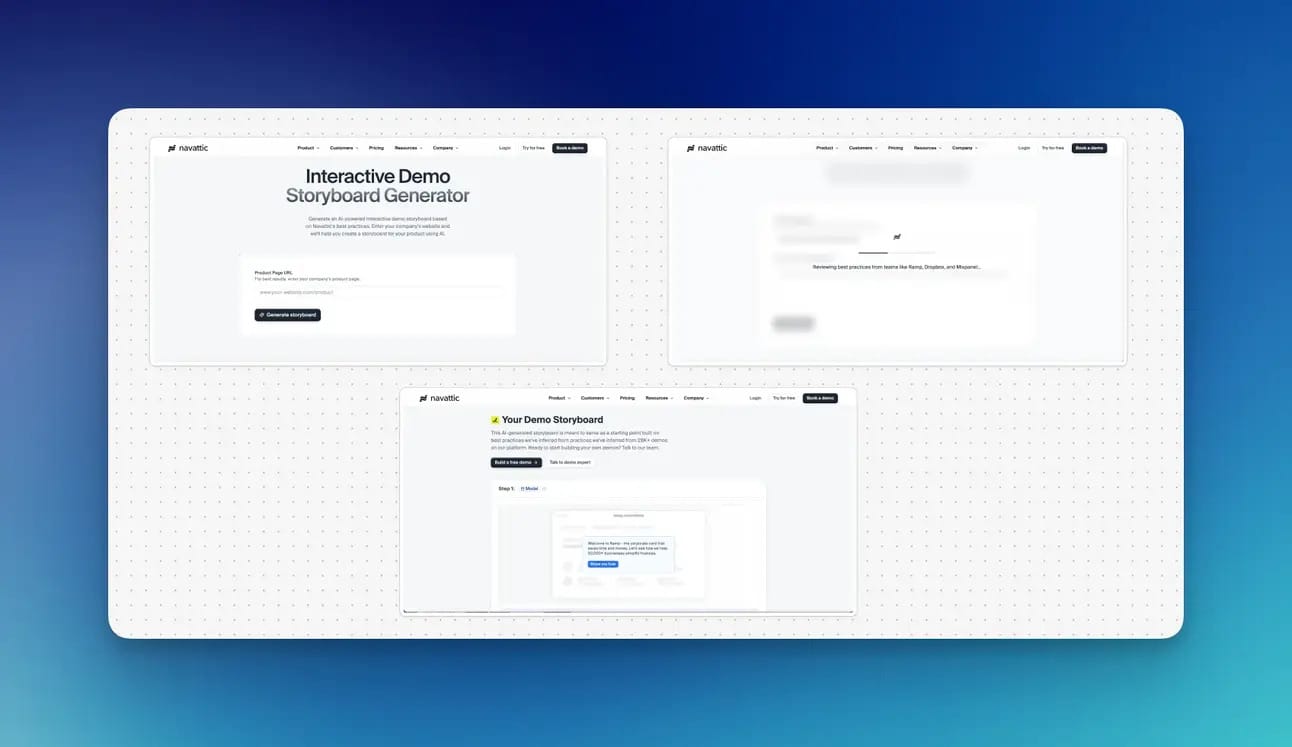
The final version was more polished.
The goal was never to ship the AI built prototype I made as is. The goal was to build momentum and show what could be done.
It was always clear that to make it real, we’d need engineering involved. Once Andrew stepped in, the tool was something we felt confident bringing to the website.
Learning #3
You will probably have to bring in an engineer at some point. Even for a more basic tool, there is still value in having someone check the code before it goes live and help when things break.
AI just accelerated the build / got to an MVP - it didn’t replace engineering.
Step 5) Launch internally first and make improvements
Before launching it, we rolled it out internally to test with our own team.
That surfaced a few bugs and rough edges:
Some websites didn’t scrape cleanly → we refined the logic
Some copy felt off → we adjusted language to match our tone
Small polish issues → we tightened spacing, layout, and load states
The internal launch gave us some good feedback. We also got to test it on different types of websites and edge cases before real traffic hit.
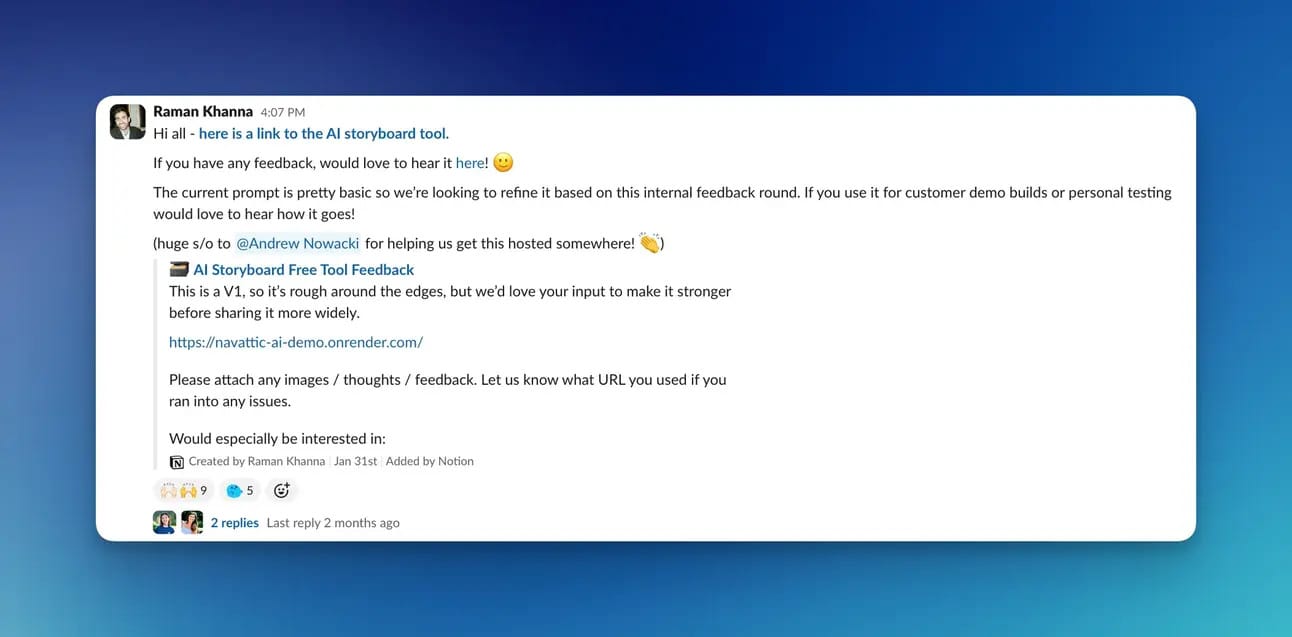
Step 6) Public launch
We started showing it on the Navattic homepage:
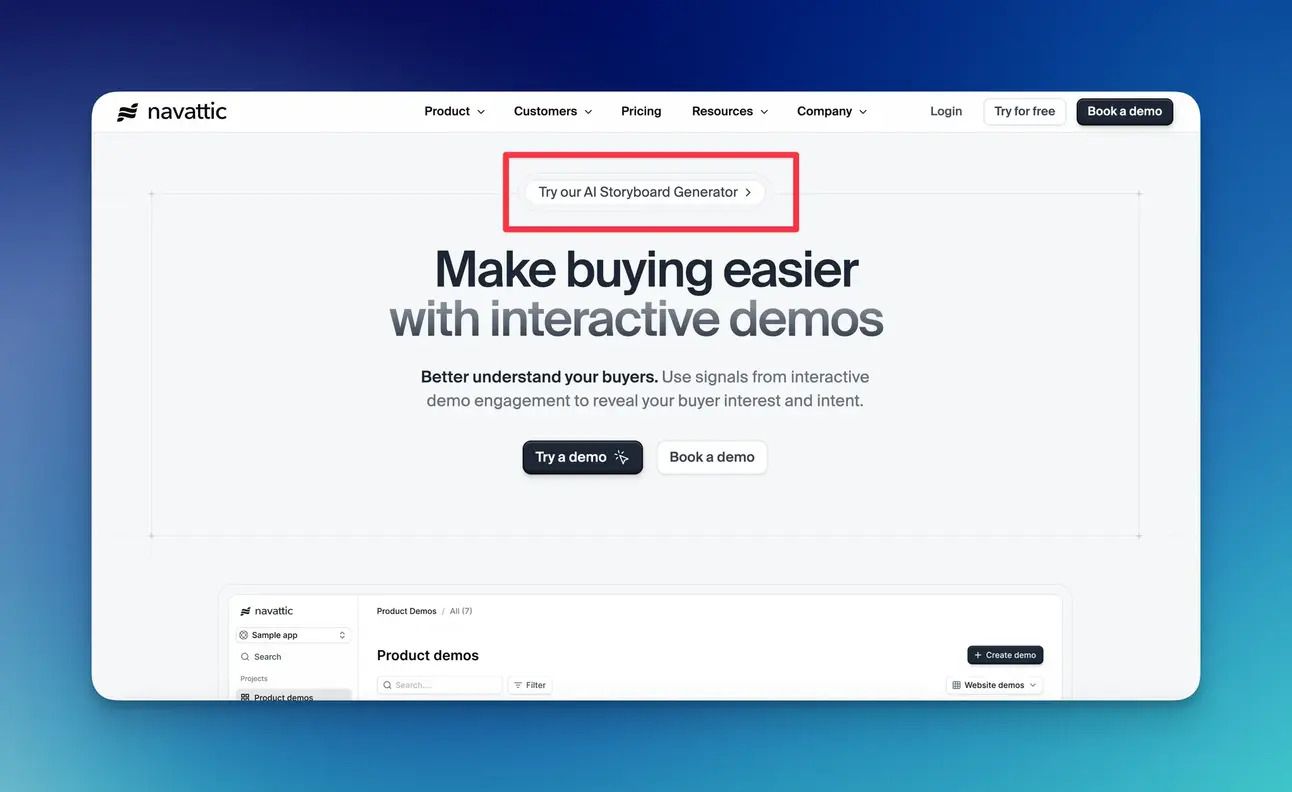
Natalie (the Head of Product Marketing & Growth) led the launch strategy. The focus was on showing, not telling.
The social launch focused on showing real websites running through the tool and their actual outputs. That made it easy for people to understand the value immediately.
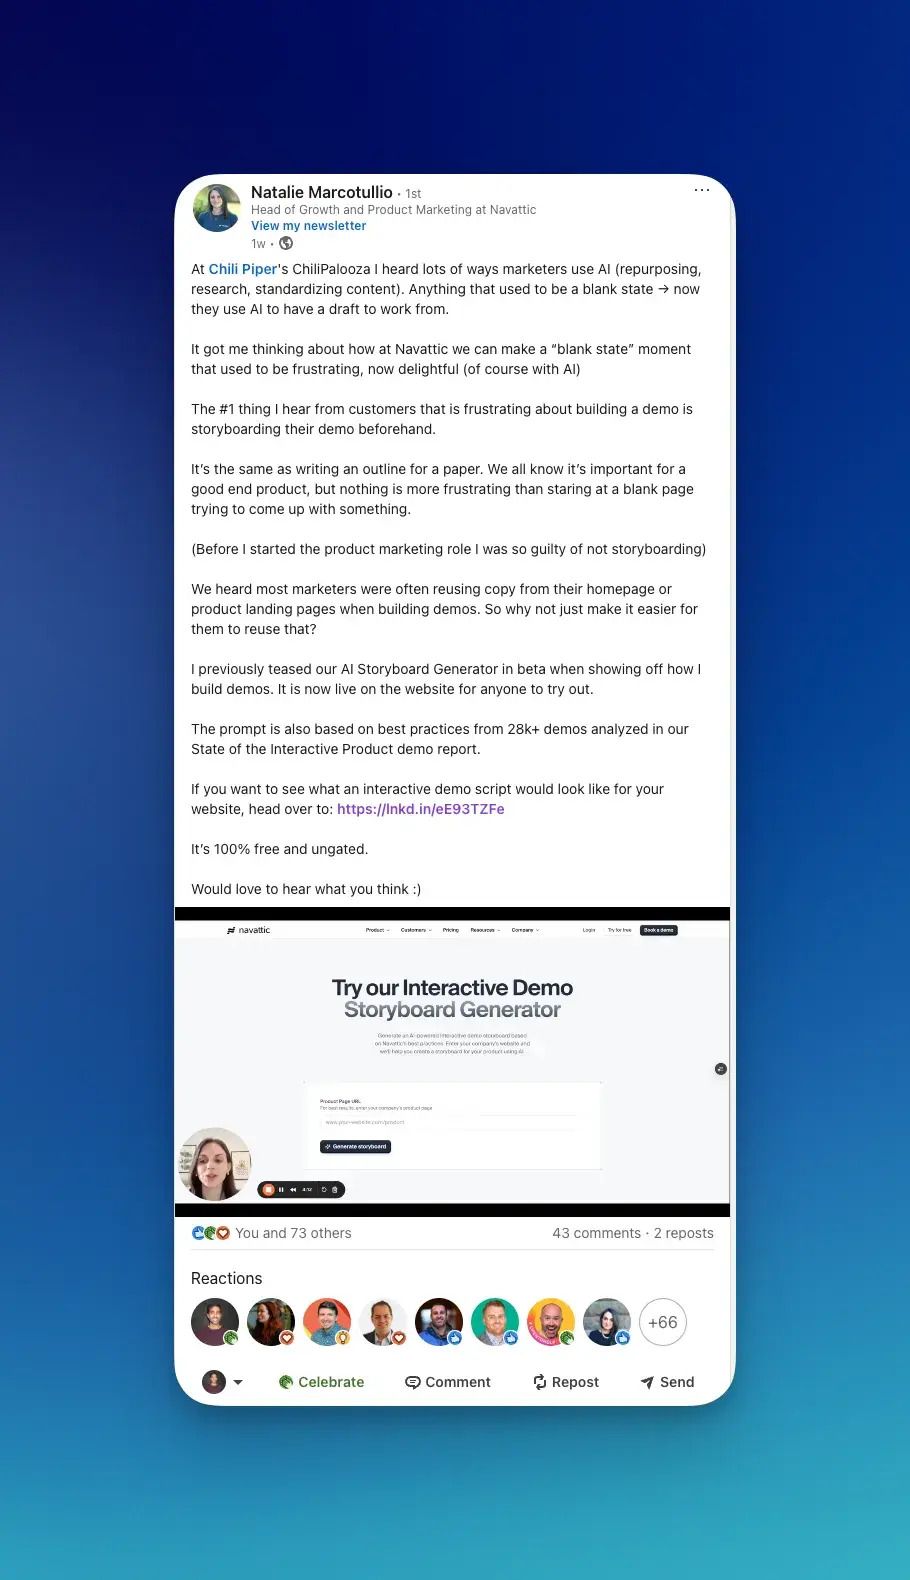
I was most worried that the tool wouldn’t resonate with our audience, but the response was reassuring. We got great feedback from both prospects and customers.
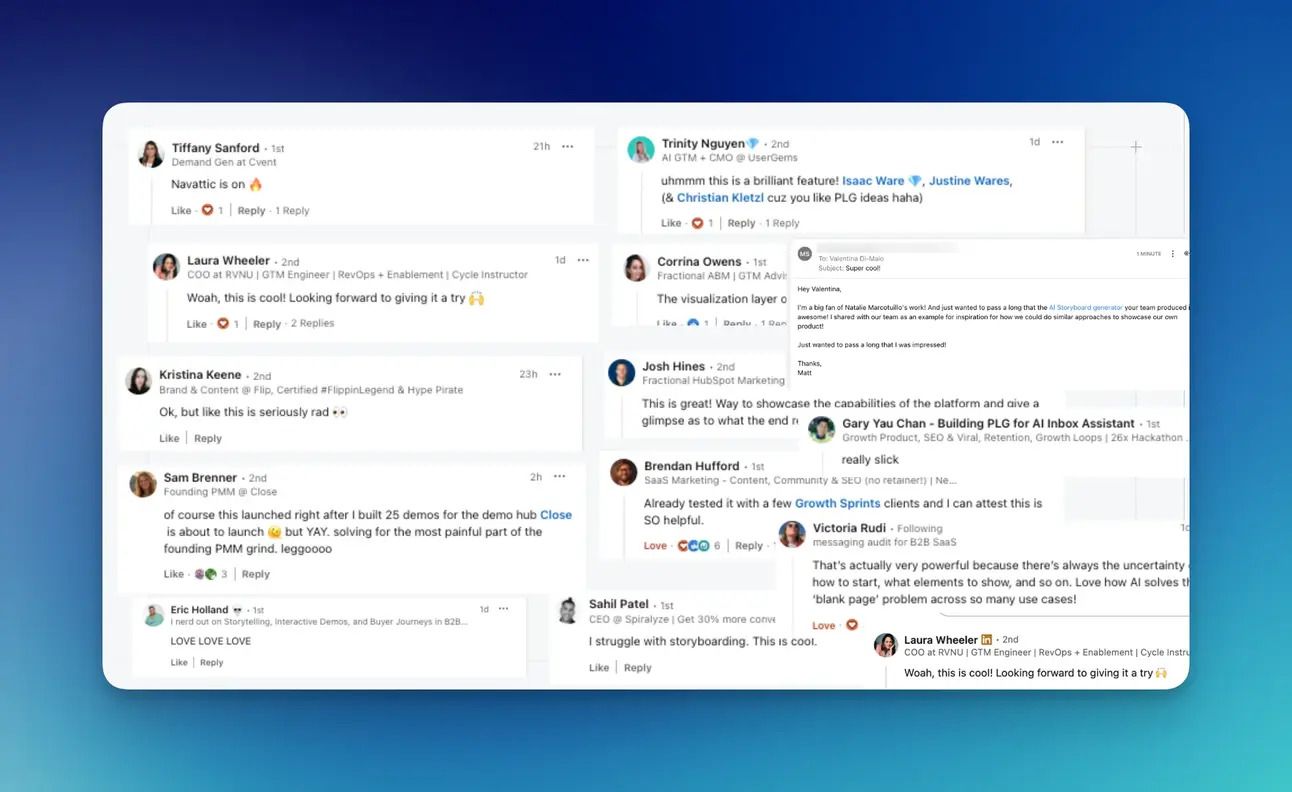
Along with great comments, also had:
~15-20% of free plan leads came from the tool
2nd most viewed page after our homepage
~10% of customers who were in the product came from the tool
If I were building this tool again, I’d start with something like Replit, Lovable, or Bolt.
I’ve had a chance to experiment with all three recently, and the speed and leverage you get (with barely any setup) is quite wild. I’ll be sharing a blueprint on using these no-code coding tools in the coming weeks!
Thanks for reading this post of Blueprints. Some more AI workflows coming soon.
Reply